
Chasm's Call |
Curious Mech
Here's my submission for PWNISHERs 3D community challenge CHASM'S CALL.
This has been a challenging yet rewarding experience. Of all the challenges I have participated in so far, I have been most proud of what I achieved with this.
Unfortunately I did not make the Top 100, however you can see my submission in the ALL RENDERS montage at 01.58.14 mark.
Congratulations to all the amazing artists who participated 🔥
Year
2025
Role
3D, Animation, Modeling, Colour Grading, Compositing, Simulation
Agency
Personal
Behind the Scenes
A SHort VFX Compilation Breakdown & Process Overview
For this project, my main 3D package of choice was Blender. Through a mixture of kitbash elements from Oleg Ushenok and custom modelling where the kitbashed assets lacked, I created the Mech featured in the animation. I also created a custom rig for various elements such as the eyes and face shield.
The little boy is a modified Meta Human exported and brought into Blender and made native using the built-in hair system. His cardboard armour was then modelled over and then both separately rigged before merging together to one unified rig. This was then linked into the main Blender file containing the Mech and camera and hand animated to give the sense of scale and trying to balance while the Mech is moving.
There is some minor smoke simulation in the animation and this was completed in JangaFX Embergen before being exported as OpenVDB file and also combined into the Blender file.
Once timing of the Mech, boy and smoke sim was complete, it was sent to be rendered with Fox Renderfarm. The rendered EXR file was brought into DaVinci Resolve where I comped all the assets together with Fusion, then moving to the colour grading tab. Starting with Linear to Arri C4 log, custom grades over various elements and then applying a final look LUT before exporting.
Main background music: Tom Fox Technically Correct
https://johnny-harris-x-tom-fox.disco.ac/cat/1632843844/track/141101584?tags=29238364
Chapters:
0.00 Intro
0.06 Process & Breakdown
0.34 Animation Block Out
1.07 Look Dev
1.14 Final Scene Overviews
1.45 Lighting
1.52 Final Composite
2.05 Final Submission
Characters
The boy was initially created in Meta Humans and then brought into Blender. I created new hair with the Geometry hair nodes and then textured the rest of the body and skin. I then modelled the cardboard armour over the boy and also adding small details like duct tape and the decals you would see on shipping boxes. Furthermore, I removed the eyes as they only added unnecessary complexity as well as not adding any eyebrows. Once textured, I rigged the character and also the wings so that they would react to the movement of the boy.

The Mech is a mix of two kitbash kits and custom modeling on top to fill in gaps that the kitbash kits lacked in. It is very much fit for purpose in so far as, as long as it looked good in camera, then I don't need to model anymore. You can clearly see this in the lower half of the Mech, but when part of this challenge is time management it was important to make these kind of decisions. Then some light rigging of the head and Face Shield for easier animation later on. I created a decal sheet inspired by the likes of Gundam and Neon Genisus Evangelion and other various BIG ROBOTS🔥🤖.
Process
Starting from initial block out, I went through multiple iterations until I found the final composition. Throughout the process I was considering the scale of the boy versus the Mech and as you can see also factoring in the lighting so that the eye was always drawn in a clear direction.
Animation Block Out
First, I animated the overall movement of the Mech. Then I used this as reference to time my terrible acting to later use as animation reference for the boy character. Then through iterations I was able to refine the movement, adding camera shake and making the boy balancing and then falling come across more naturally.
Look Dev
Throughout the process, I kept refining the look dev. Trying to decide if I want a warm or cold look and what feeling I wanted the viewer to feel through these short 5 seconds. I really enjoyed the "Marathon" look but decided I wanted a more realistic approach. Keeping that in mind, I wanted a high-contrast image with a clear focal point but still keep all the details visible and ensure there was ample time to take it all in without getting lost.
Lighting
Continuing on from my previous point, lighting and direction were very important. Including kick lights to help give shape to the head in darkness, as well as hidden lights to make sure the right eye of the Mech could be visible through the volume and VDB.
Final Composite
Compositing was completed using DaVinci Resolve Fusion. It was an interesting challenge, as I had only briefly used node compositing before. My usual skill set lies in layer-based compositing like in After Effects. While a simple node tree, it has convinced me to delve further into node compositing and its potentials.

Final Submit
For convenience, the final submission again. Sound is not a factor so was submitted without and only added later for the breakdown and process video.
Other Projects
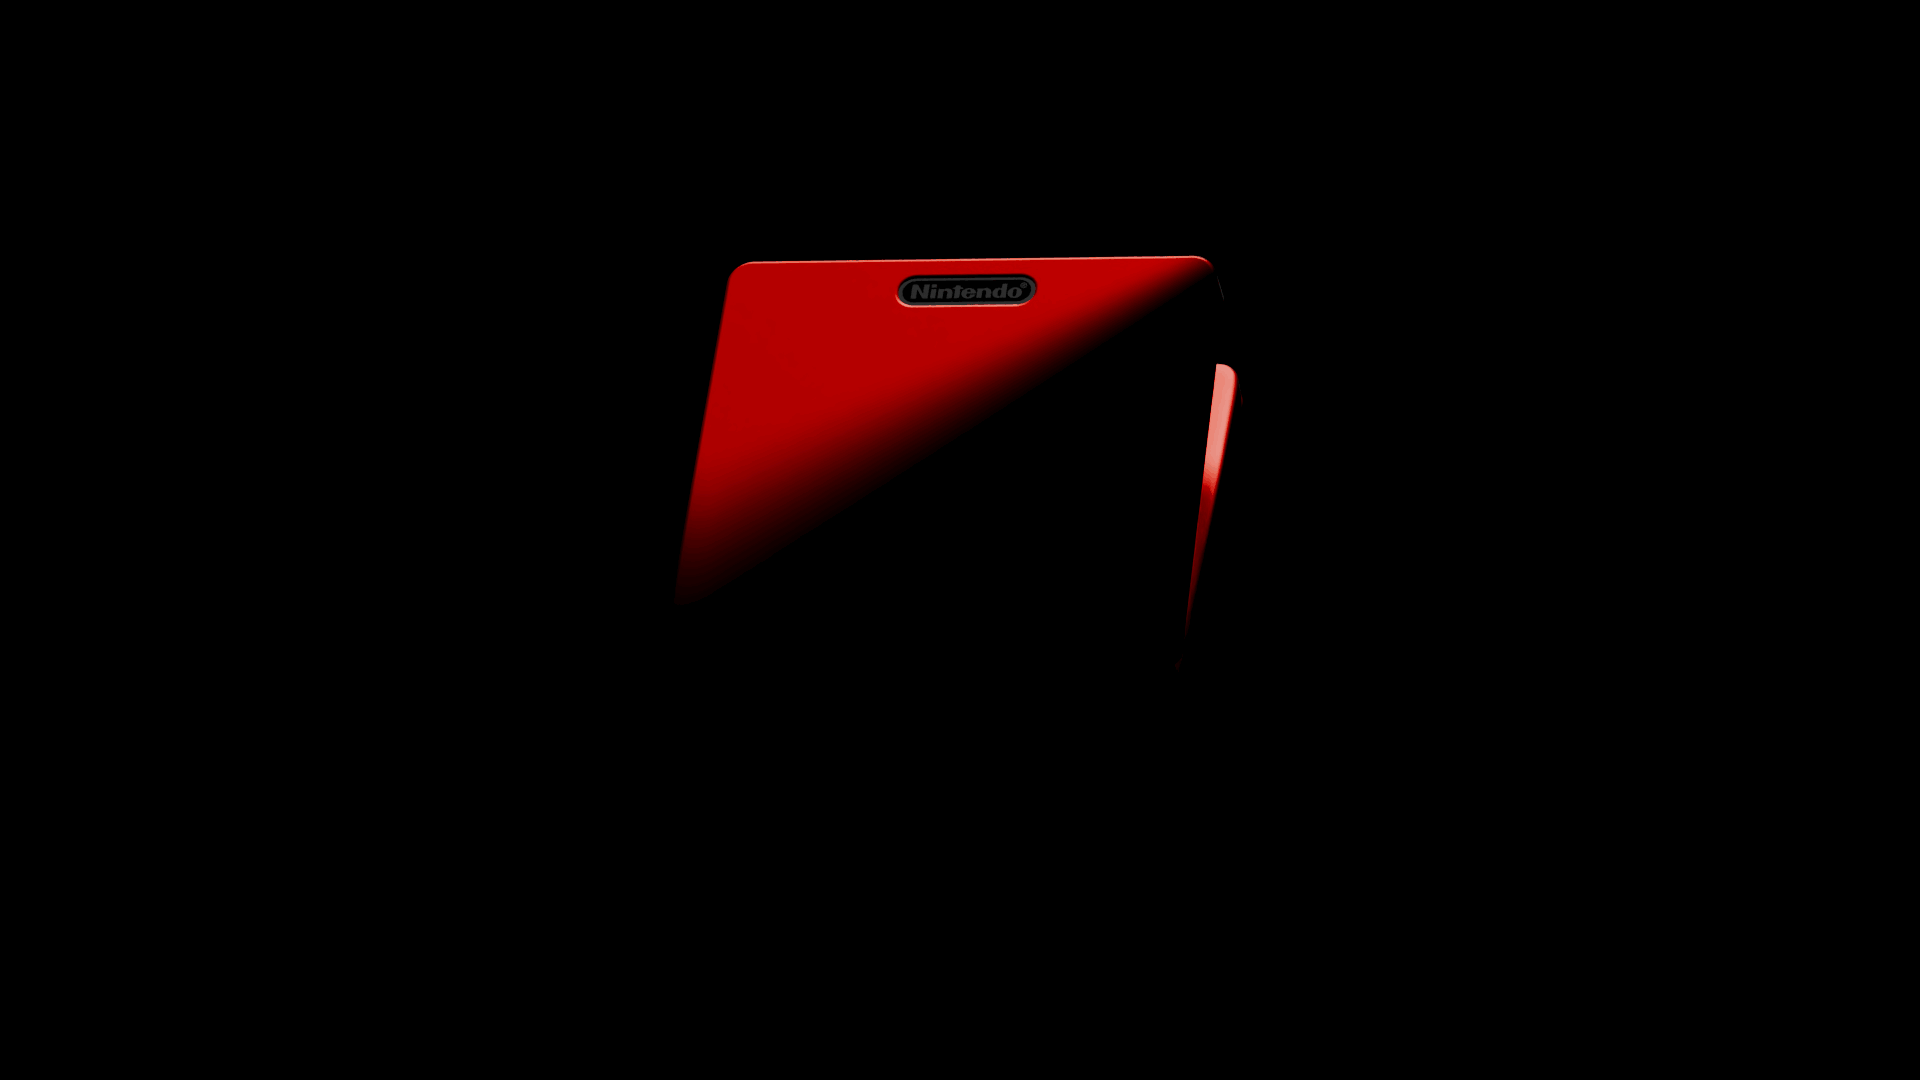
Gameboy Advance SPMotion Design, Art Direction
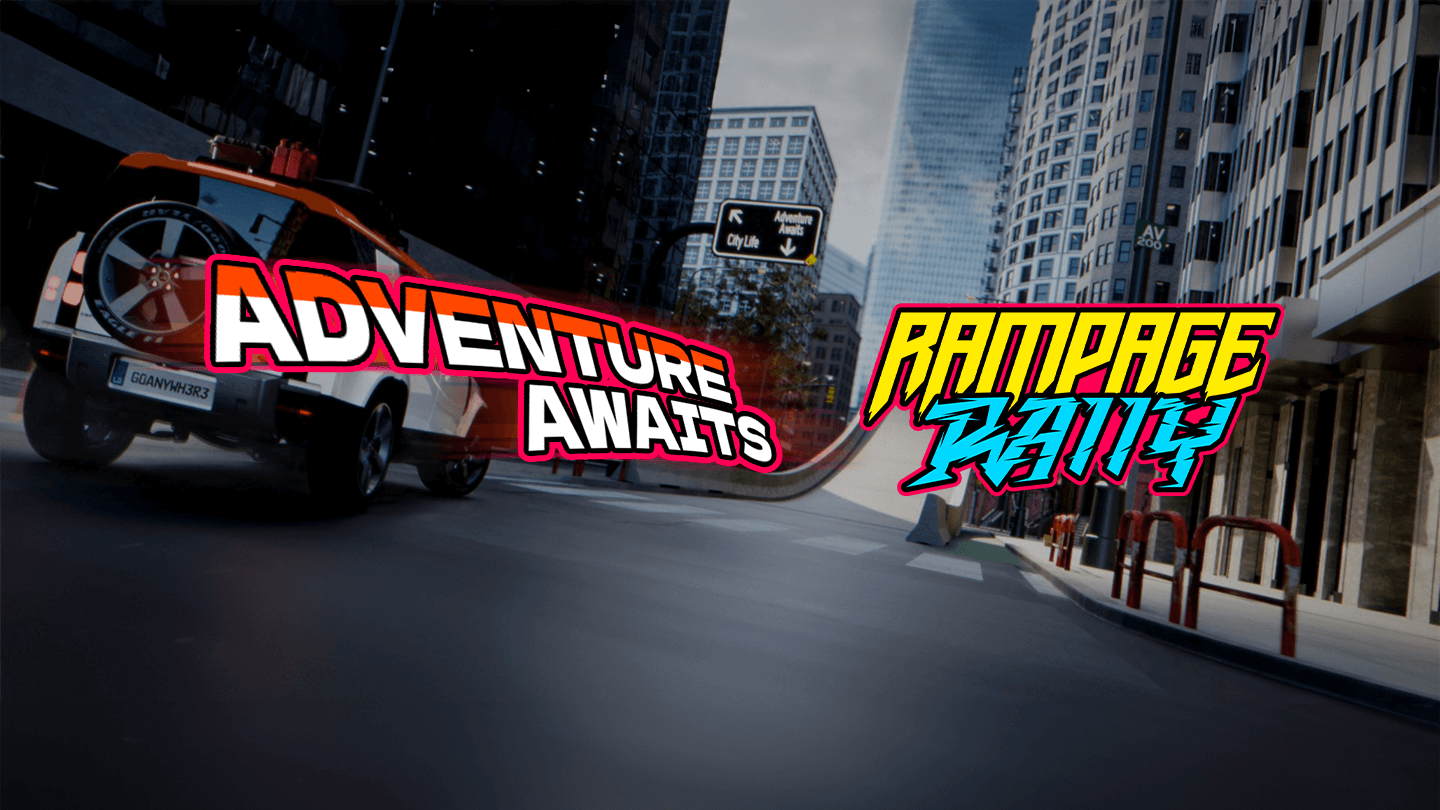
Rampage RallyAnimation, Art Direction, Compositing
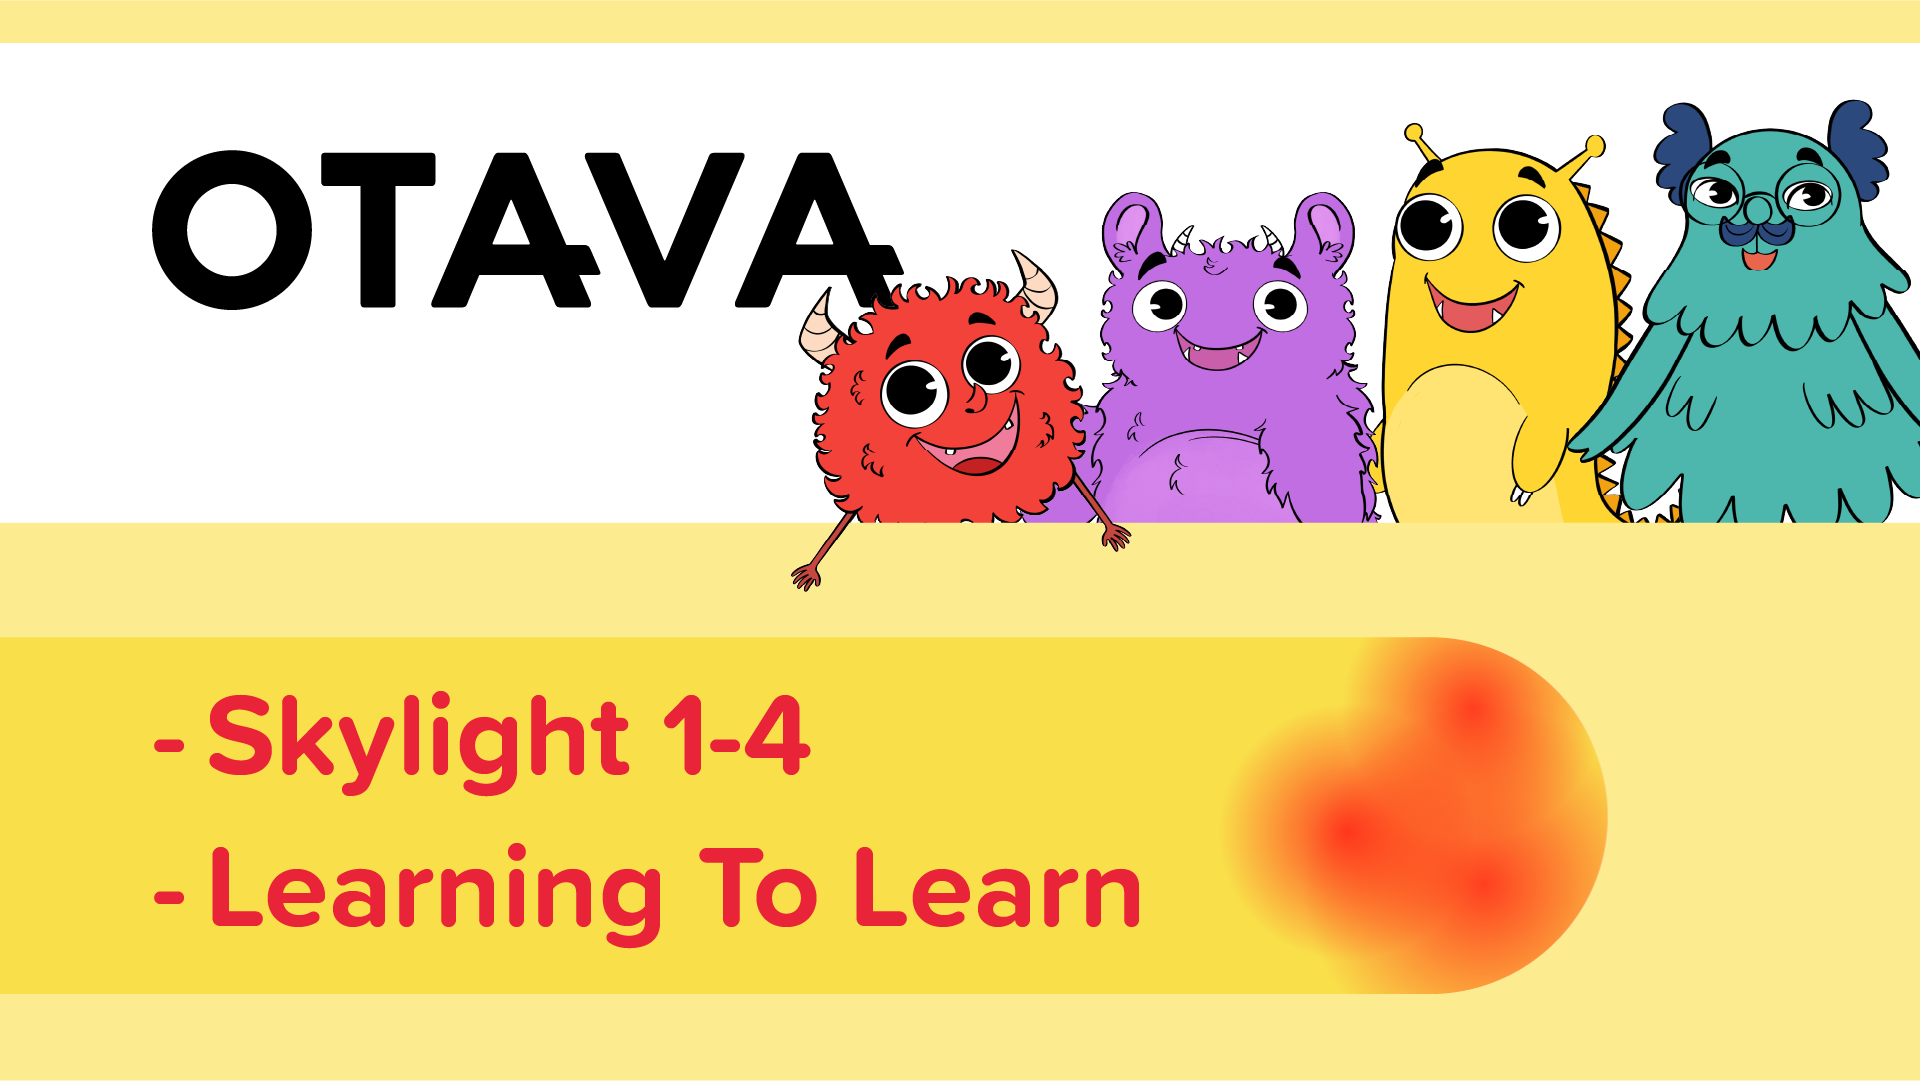
Otava PublishingMotion Design, Character Animation

Bits & Extra BobsMotion Design, Art Direction, Social, VFX
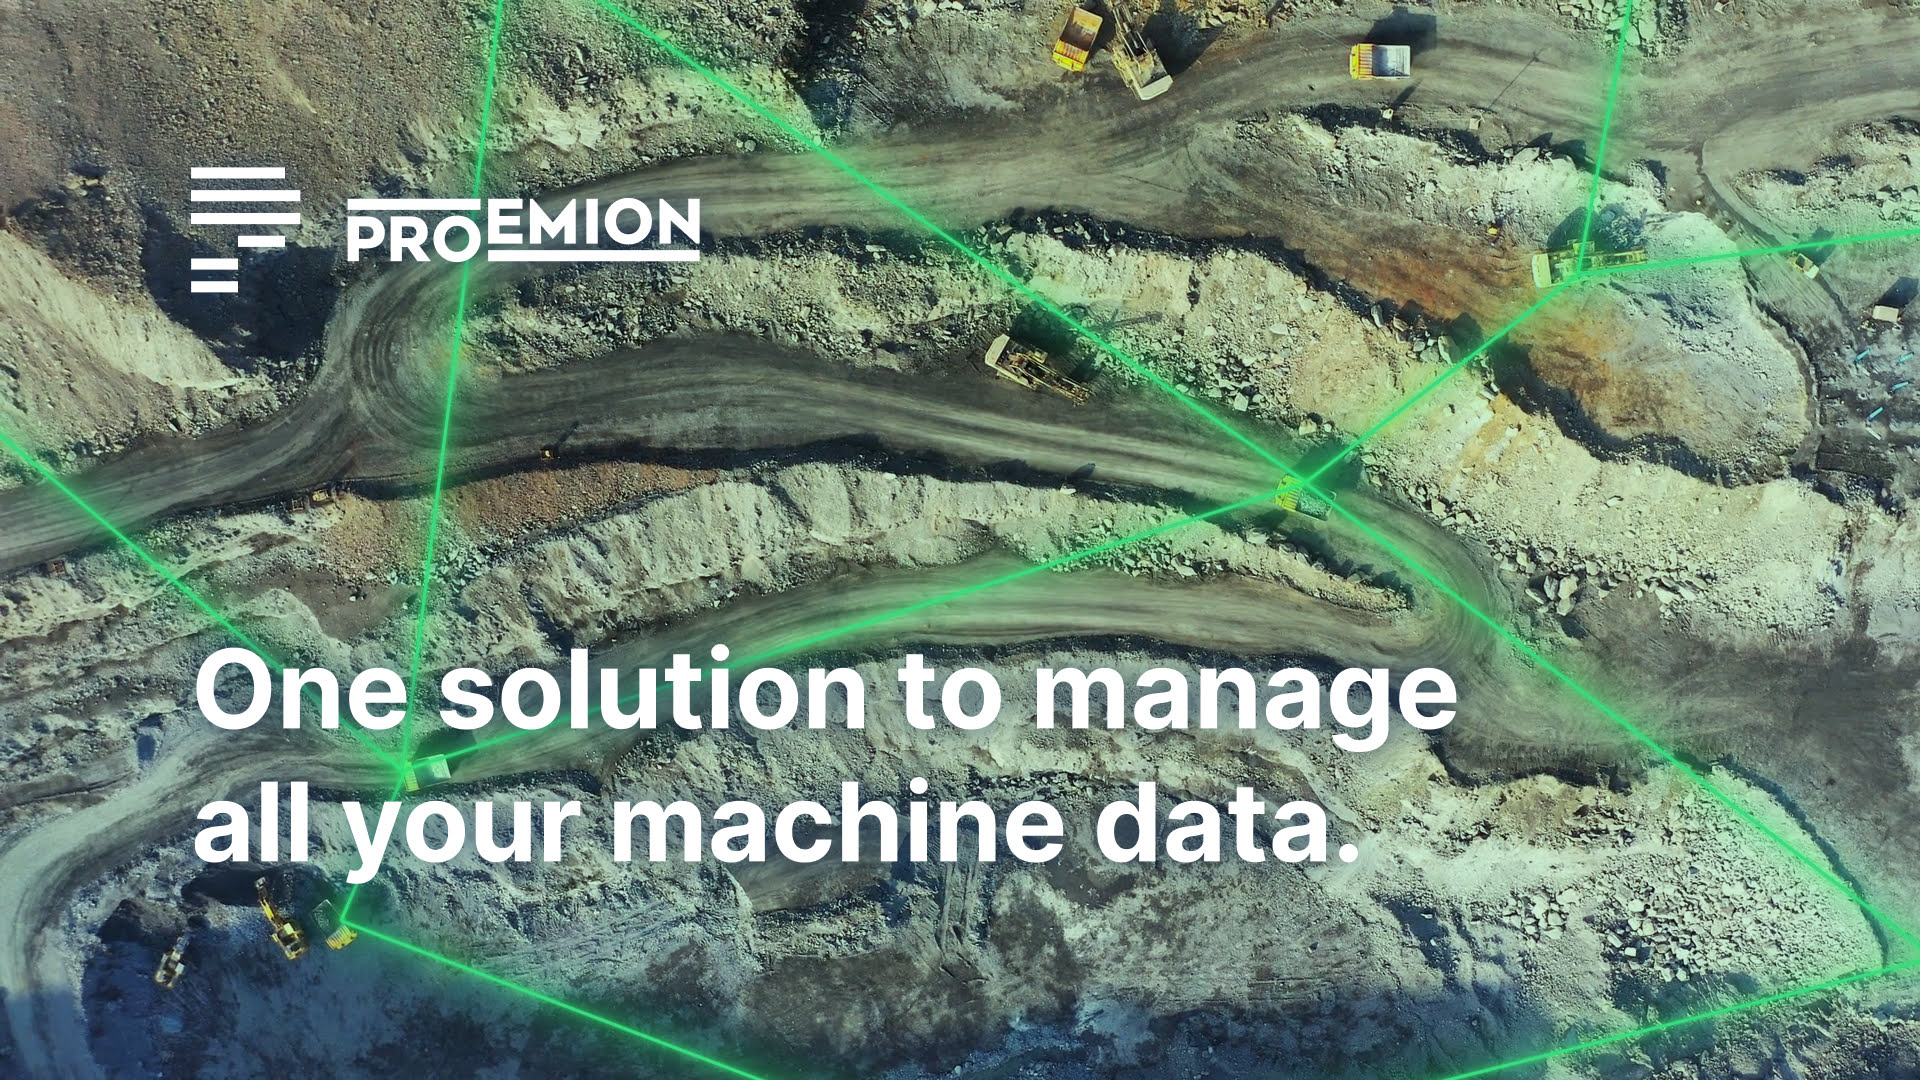
ProemionMotion Design, VFX, Art Direction

Bridge of BetrayalMotion Design, Art Direction

Kinetic RushAnimation, Modeling, Art Direction

Eternal AscentAnimation, Art Direction, Modeling

Cleverbuy – SocialsMotion Design, Art Direction

Digital Masters – SoMe MarketingMotion Design, Art Direction

tone X SOUNDBOXArt Direction, Modeling

Echt Vom FeldBranding, Motion Design, Packaging

Landscapes EnvironmentsArt Direction, Experimental

Slipped – Coming SoonAnimation, Art Direction
Der neue SchattenMotion Design, Art Direction

Knife LoungeBranding

VillaToWorkBranding
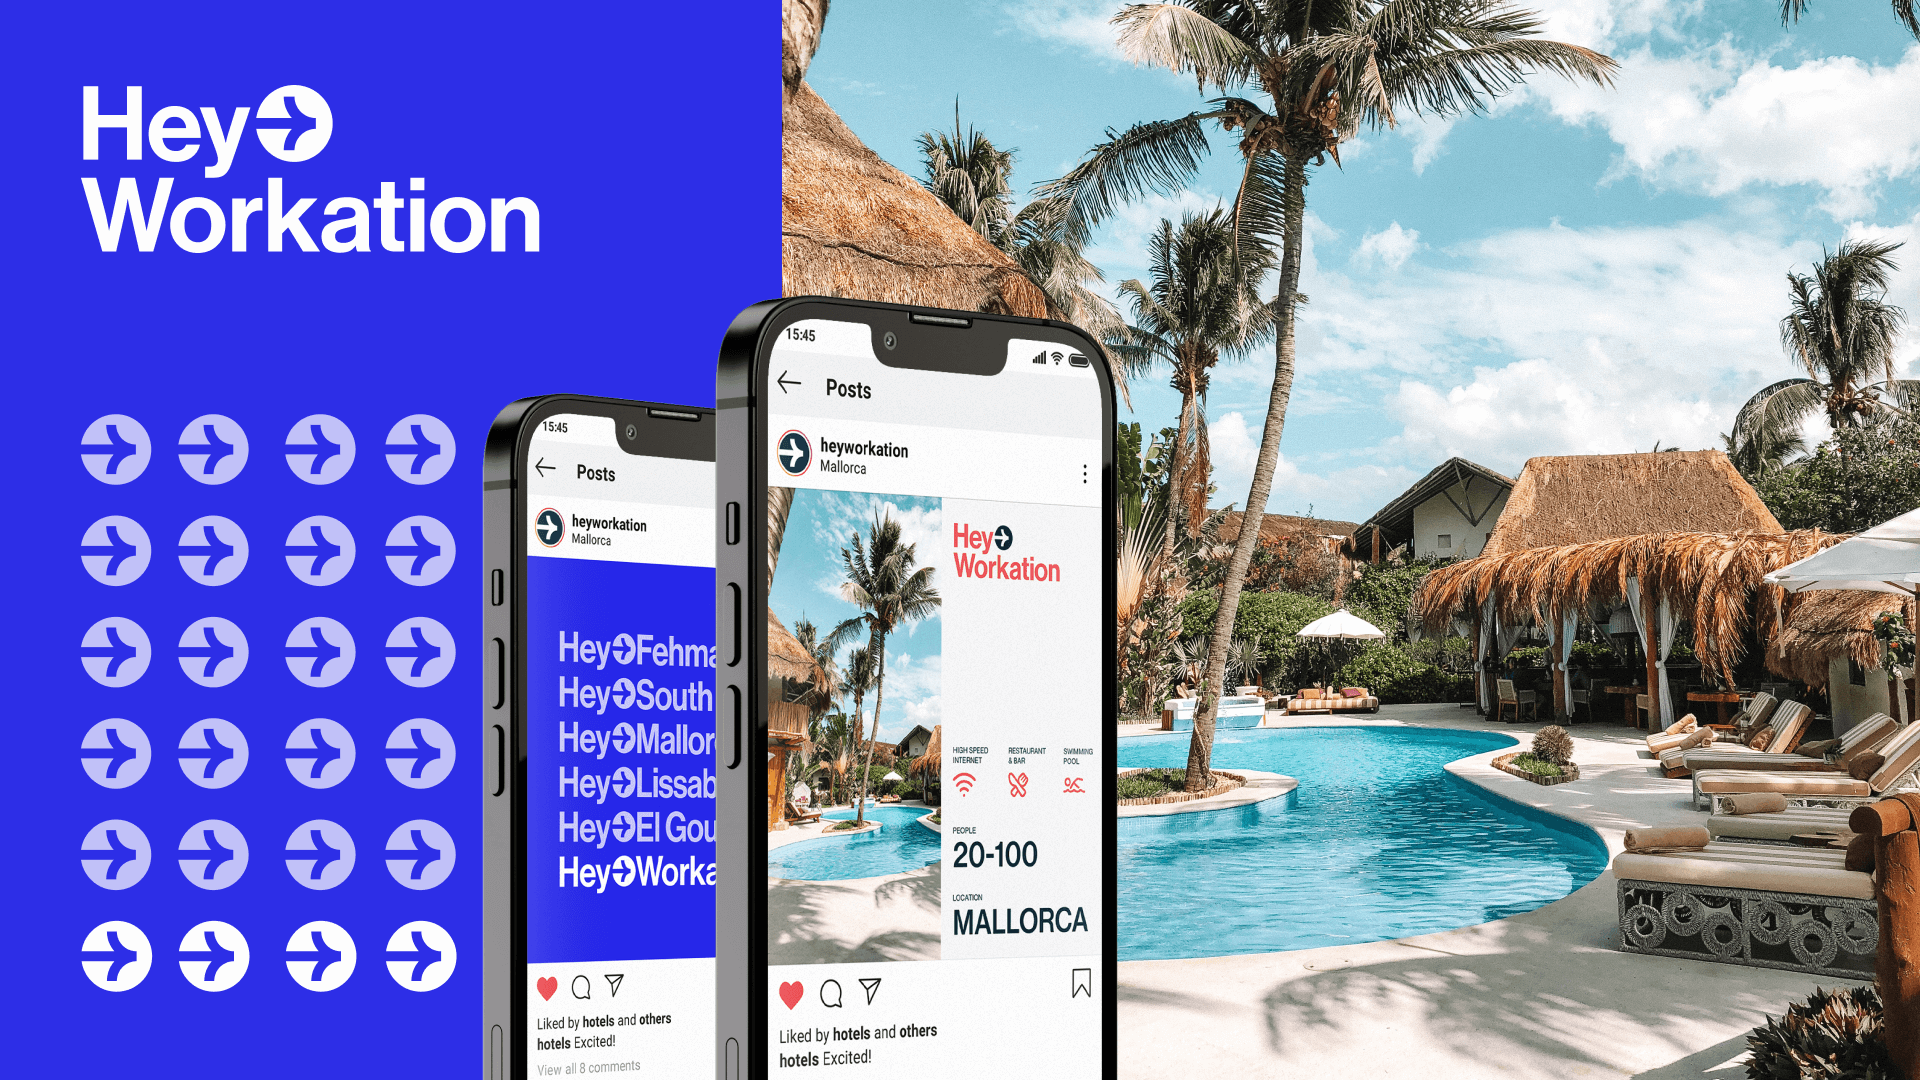
HeyWorkationBranding

Advanced Motion MethodsMotion Design
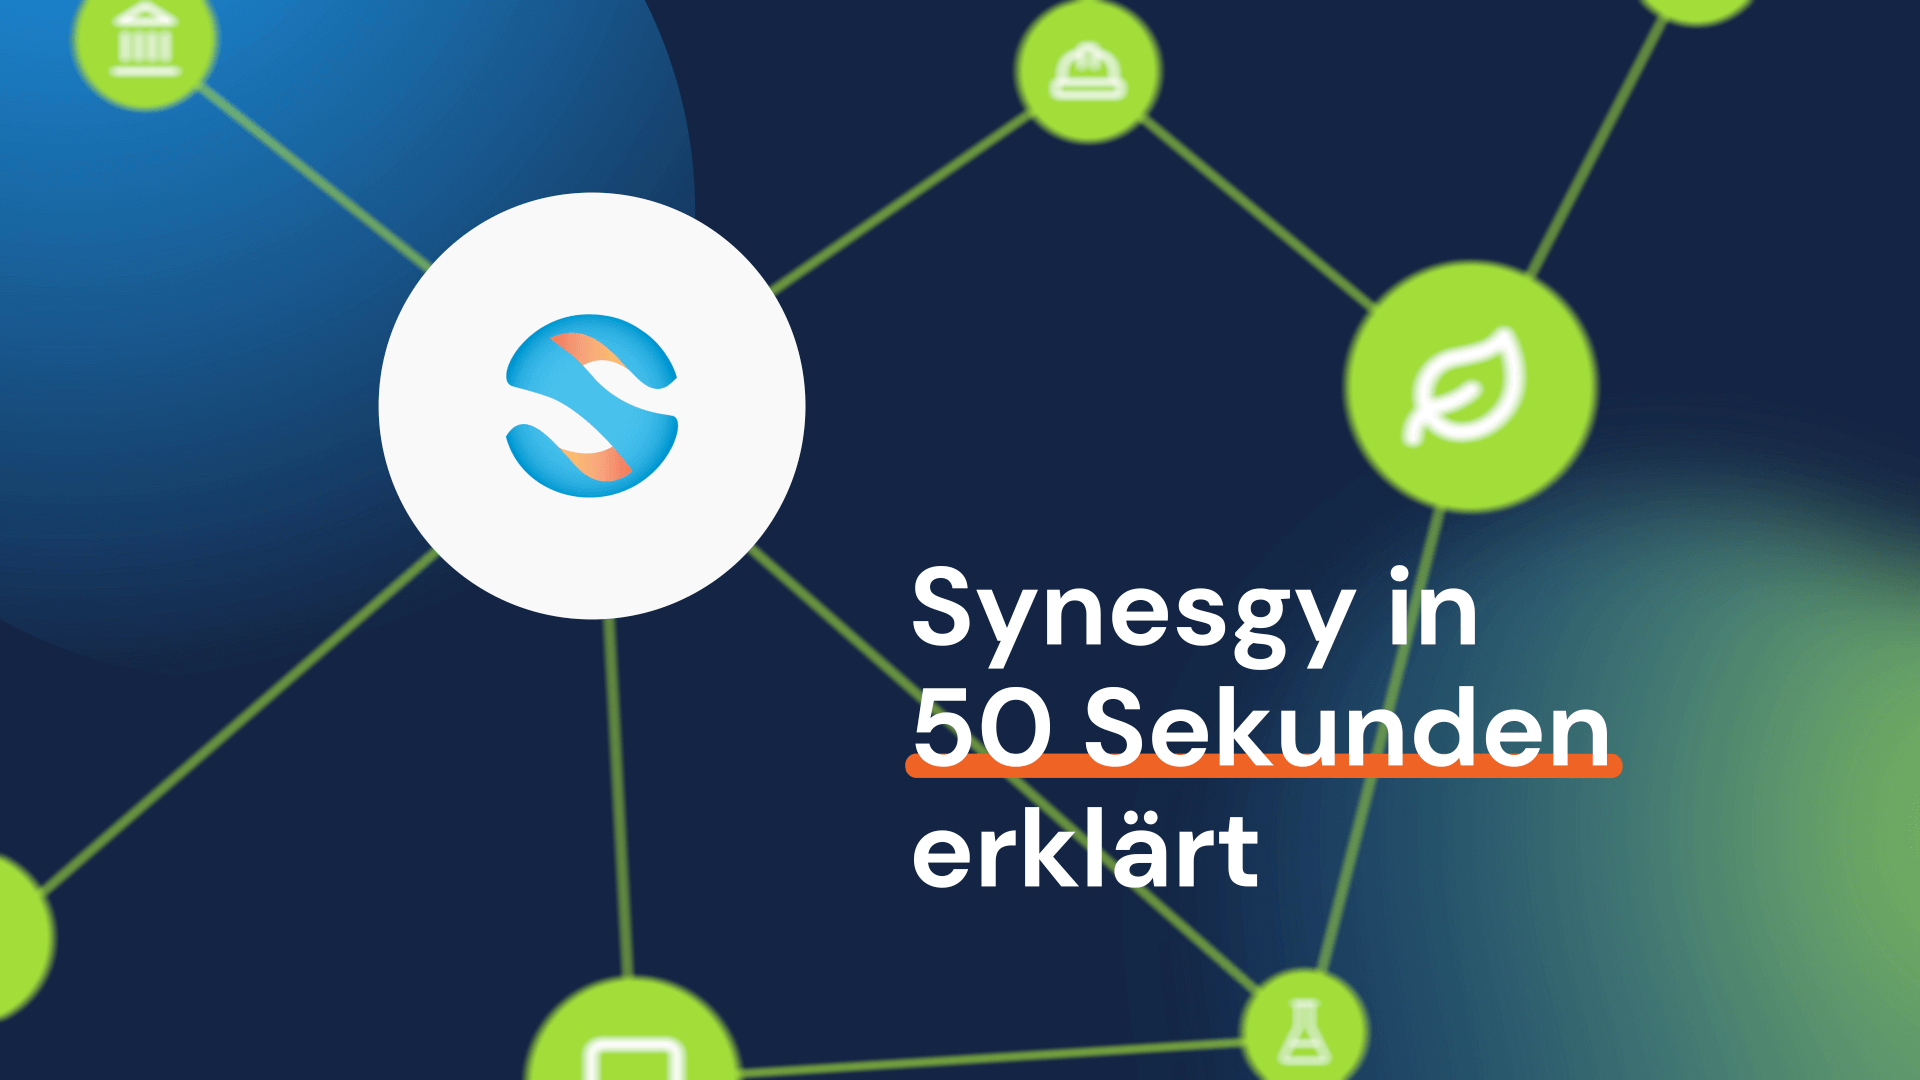
CRIF SynesgyMotion Design, Art Direction

WorkvivoMotion Design, Art Direction
Nothing good ever came easy.