
Rampage Rally |
Adventure Awaits
Here's my submission for PWNISHERs 3D community challenge RAMPAGE RALLY.
Much like the previous challenges I had grandiose ideas but reality always sinks in and I had to manage my own expectations to ensure I delivered on time. For this challenge I gave myself an additional brief on top. What if a car company needed a short campaign? How would I show that this vehicle can do and go anywhere.
I learned a lot about world building because one wasn’t enough, I had to make 3  . Ideally this comes through on top of the template and original brief.
I estimated over 100hrs went into this project and again have learned quite a lot from it. Congratulations to all the amazing artists who participated!
Unfortunately I didn't make the top 100, but you can view my submission in the full compilation here.
Year
2025
Role
3D, Animation, Modeling, Colour Grading, Compositing, Simulation
Agency
Personal
Behind the Scenes
A SHort VFX Compilation Breakdown & Process Overview
I used Blender as my main 3D package for this project. I started with sourced base assets like the jeep, city, and some vegetation, then custom-modelled and built the rest of the environments from there.
My original idea for the portal transition was more complex, but I ran out of time. I found a great alternative by mixing the depth map with various effects during compositing. This meant each of the four scenes (including the final transition back to the city) was built and rendered separately. To ensure a seamless composite, I linked the main vehicle to each scene so it would match the movement during the transition.
For the final touches, I added small details like rock chips when the car hit the sand rock and dust as it entered the sand. I also included light tire smoke at the beginning and end. With more time, I would have loved to render higher-quality simulations for all these effects.
Fox Renderfarm was a huge help, as it allowed me to keep working on new scenes while others were being rendered.
I then brought the final rendered EXR files into After Effects to composite all the assets. From there, I applied a final colour grade and added elements like grain and chromatic aberration.
Chapters:
0:01 Intro
0:08 Process & Breakdown
0:50 Turntable
0:54 Final Scene Overviews
1:27 Final Submission
Characters
The Land Rover vehicle was originally a free online asset. I then rigged it in Blender, adjusting its textures and shading to align with the project's theme. To add more detail, I modeled an additional top rack and cases. This mix of custom models and pre-built assets helped bring the vehicle to life.
Animation Block Out
Initially, I focused on blocking out the vehicle's timing to establish the foundation for the scene. This initial stage prioritized getting the general jump and landing correct, with the final look being less important than the overall idea.
Once the environment was more defined, I wanted to refine the vehicle's animation to give it more life and personality. While a physics-based solution was an option, I enjoyed the challenge of a hand-animated approach. I was very pleased with the final result, as I was able to incorporate subtle drifts and body roll mechanics, carefully considering how the vehicle's mass and center of gravity would affect its handling.
Scene Buildup
My concept required at least two different environments. I initially planned to start in a showroom, but it felt too boring. I opted for a dynamic city scene instead, using Google Maps for reference and a city generator with a London street layout. From there, I adjusted the roads and building sizes to ensure the camera could follow the vehicle without obstructions. I then custom-built the highway on-ramp and textured it to complement the American-style buildings I was using.
I couldn't decide between a jungle and a desert for the next environment, so I went with both.
The jungle scene was fairly easy to build with my existing asset library. The main challenge was managing the sheer volume of vegetation to make it look realistic without crashing my computer. To solve this, I used camera culling extensively and separated the scene into foreground, midground, and background render layers.
The desert environment was the most challenging. I custom-generated the terrain with Geometry Nodes, but found it difficult to seamlessly blend the background geometry with the terrain the vehicle was on. I originally planned for dynamic tire tracks in the sand, but had to scrap this for time. My final solution was to use photoscans of real desert rocks to hide the transition points, which also provided motivation for the vehicle's turn at the end of the animation.
The final scene is a modified duplicate of the opening city shot. I moved the environment closer to the camera to create a sense of greater travel and to find a better composition for the final frame.
Portal Transition
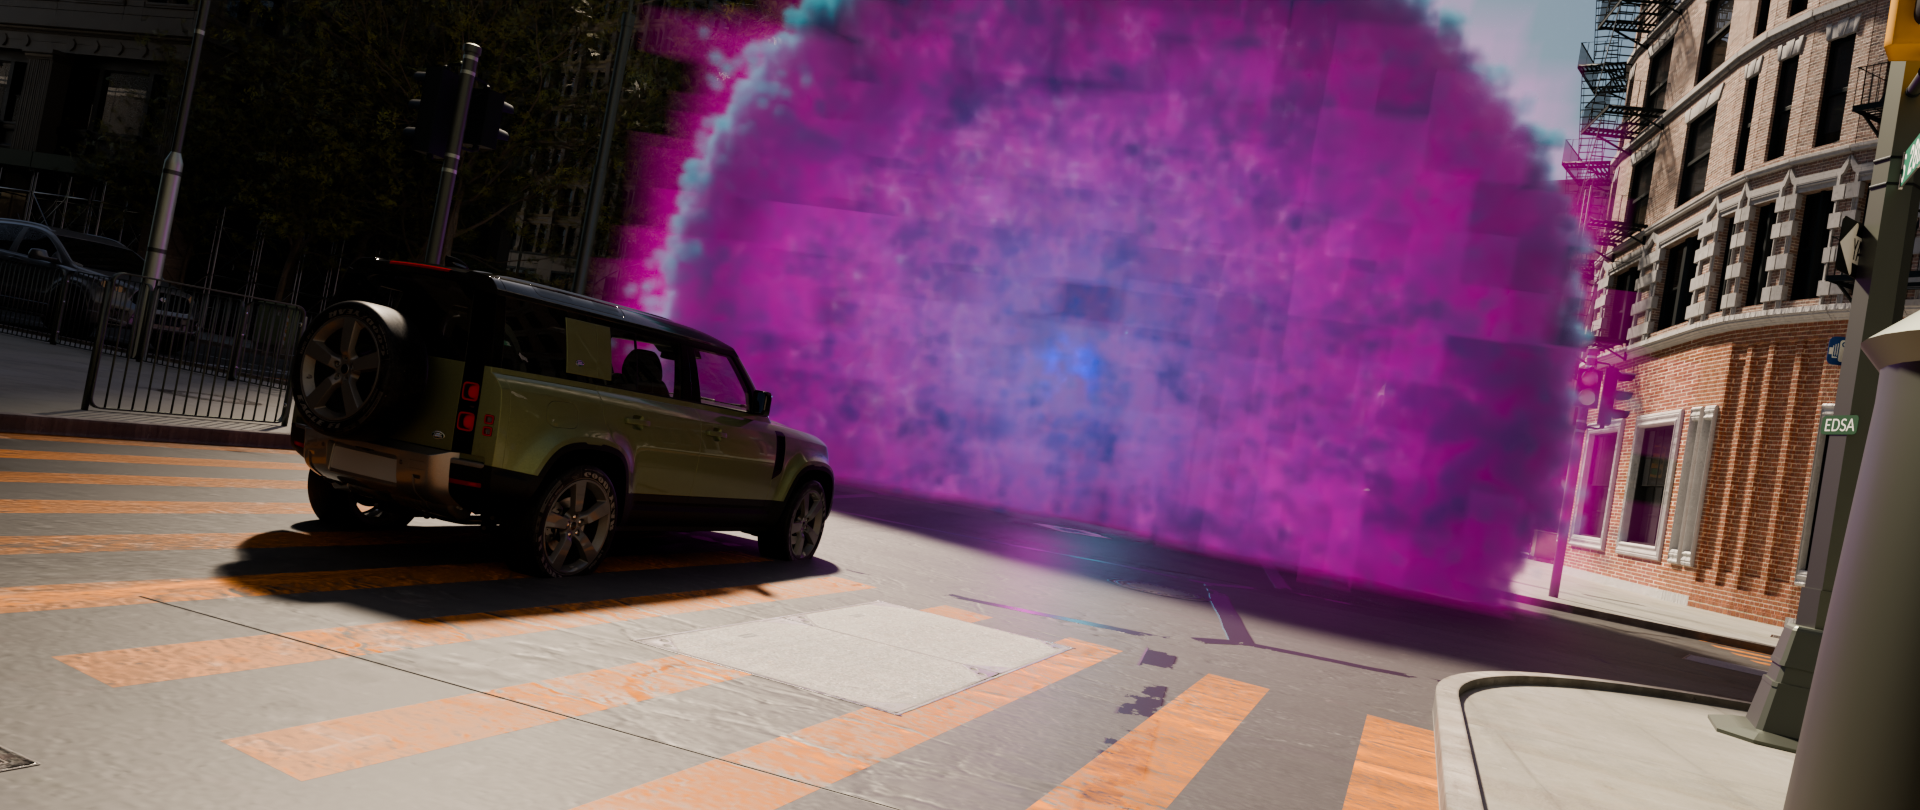
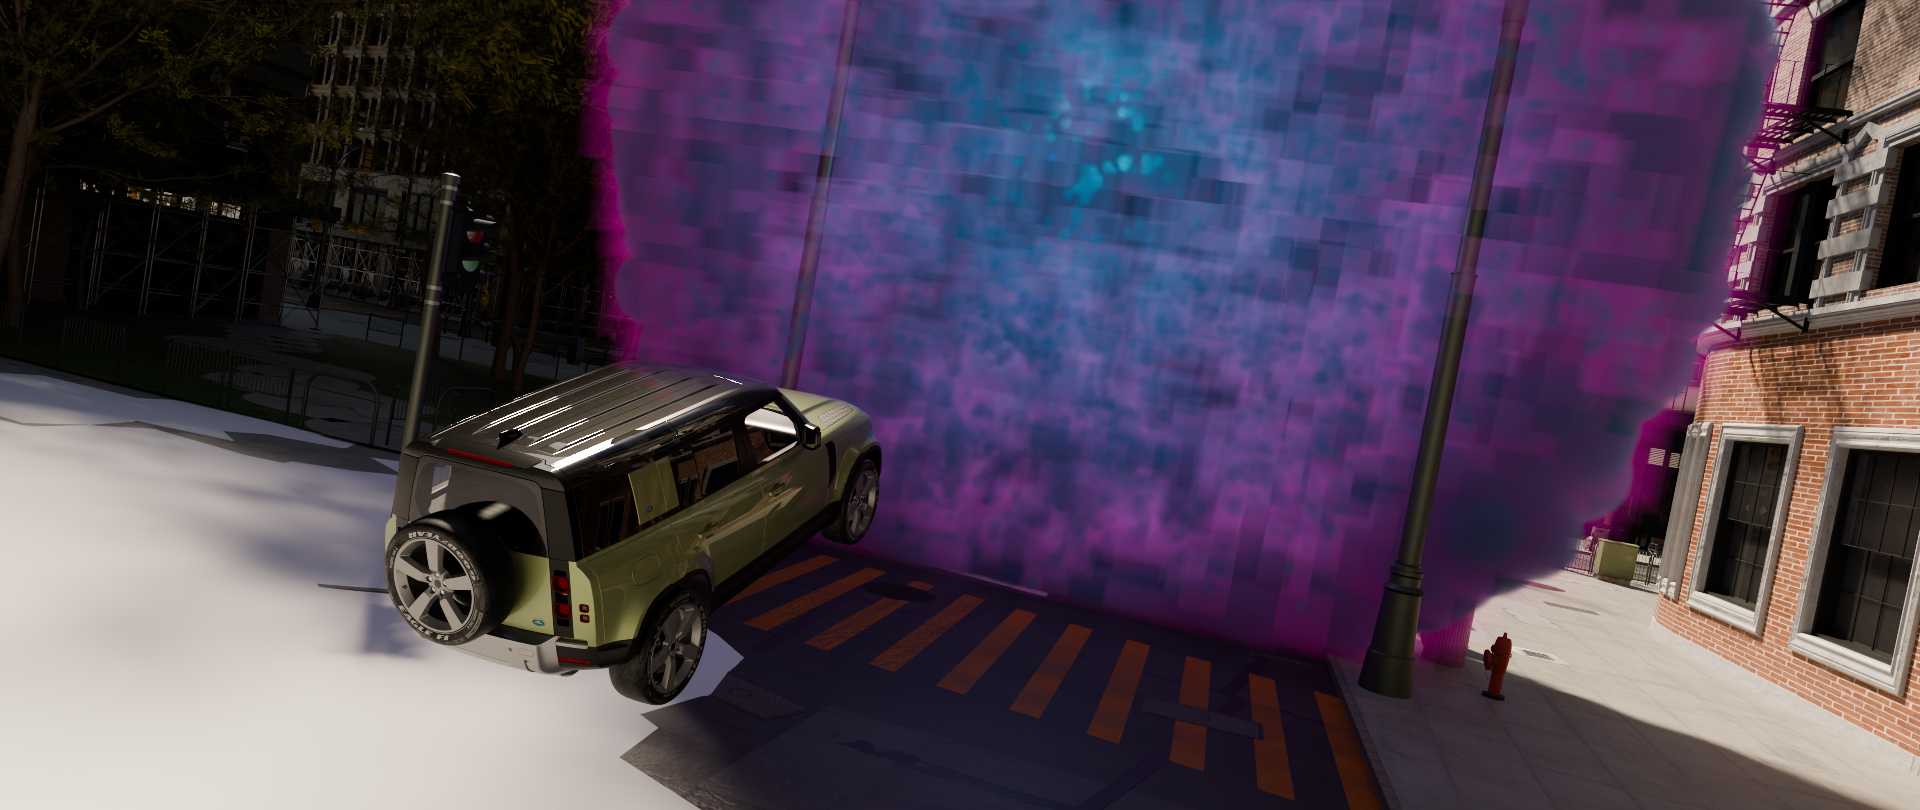
The idea of transitioning between environments was a core part of the project from the start, though the method had to change drastically. My original concept involved a fantastical portal opening up, with smoke wiping the screen for a clean transition. Unfortunately, I could never get the resolution of the smoke sim right in Blender, and I hit a wall with my knowledge and time constraints with Geometry Nodes.
I had to find a different solution that still sold the effect to the audience. I was able to solve this in After Effects by using an effect stack that utilized the depth pass. This approach brought its own challenges, as I had to figure out why fireflies were showing up in the depth pass, but it was a much quicker fix. In the end, this method allowed me to tie the scenes together seamlessly.
Final Composite
The final stage of the project involved compositing and colour grading in After Effects. I began with the raw linear EXR renders, applying a view transform to ARRI and then an AGX look. To give the scene a polished feel, I incorporated a variety of effects during the colour grading process, such as grain, a vignette, subtle chromatic aberration, and a hint of glow.
I made the decision to render from Blender without camera blur or volumetrics, which were then reintroduced in After Effects with the help of the depth pass. The final elements to be layered in were the smoke simulations and the rock particle hits, bringing the entire piece together.
Other Projects
Gameboy Advance SPMotion Design, Art Direction

Otava PublishingMotion Design, Character Animation

Chasm's CallAnimation, Modeling, Compositing

Bits & Extra BobsMotion Design, Art Direction, Social, VFX
ProemionMotion Design, VFX, Art Direction

Bridge of BetrayalMotion Design, Art Direction

Kinetic RushAnimation, Modeling, Art Direction

Eternal AscentAnimation, Art Direction, Modeling

Cleverbuy – SocialsMotion Design, Art Direction

Digital Masters – SoMe MarketingMotion Design, Art Direction

tone X SOUNDBOXArt Direction, Modeling

Echt Vom FeldBranding, Motion Design, Packaging

Landscapes EnvironmentsArt Direction, Experimental

Slipped – Coming SoonAnimation, Art Direction
Der neue SchattenMotion Design, Art Direction

Knife LoungeBranding

VillaToWorkBranding
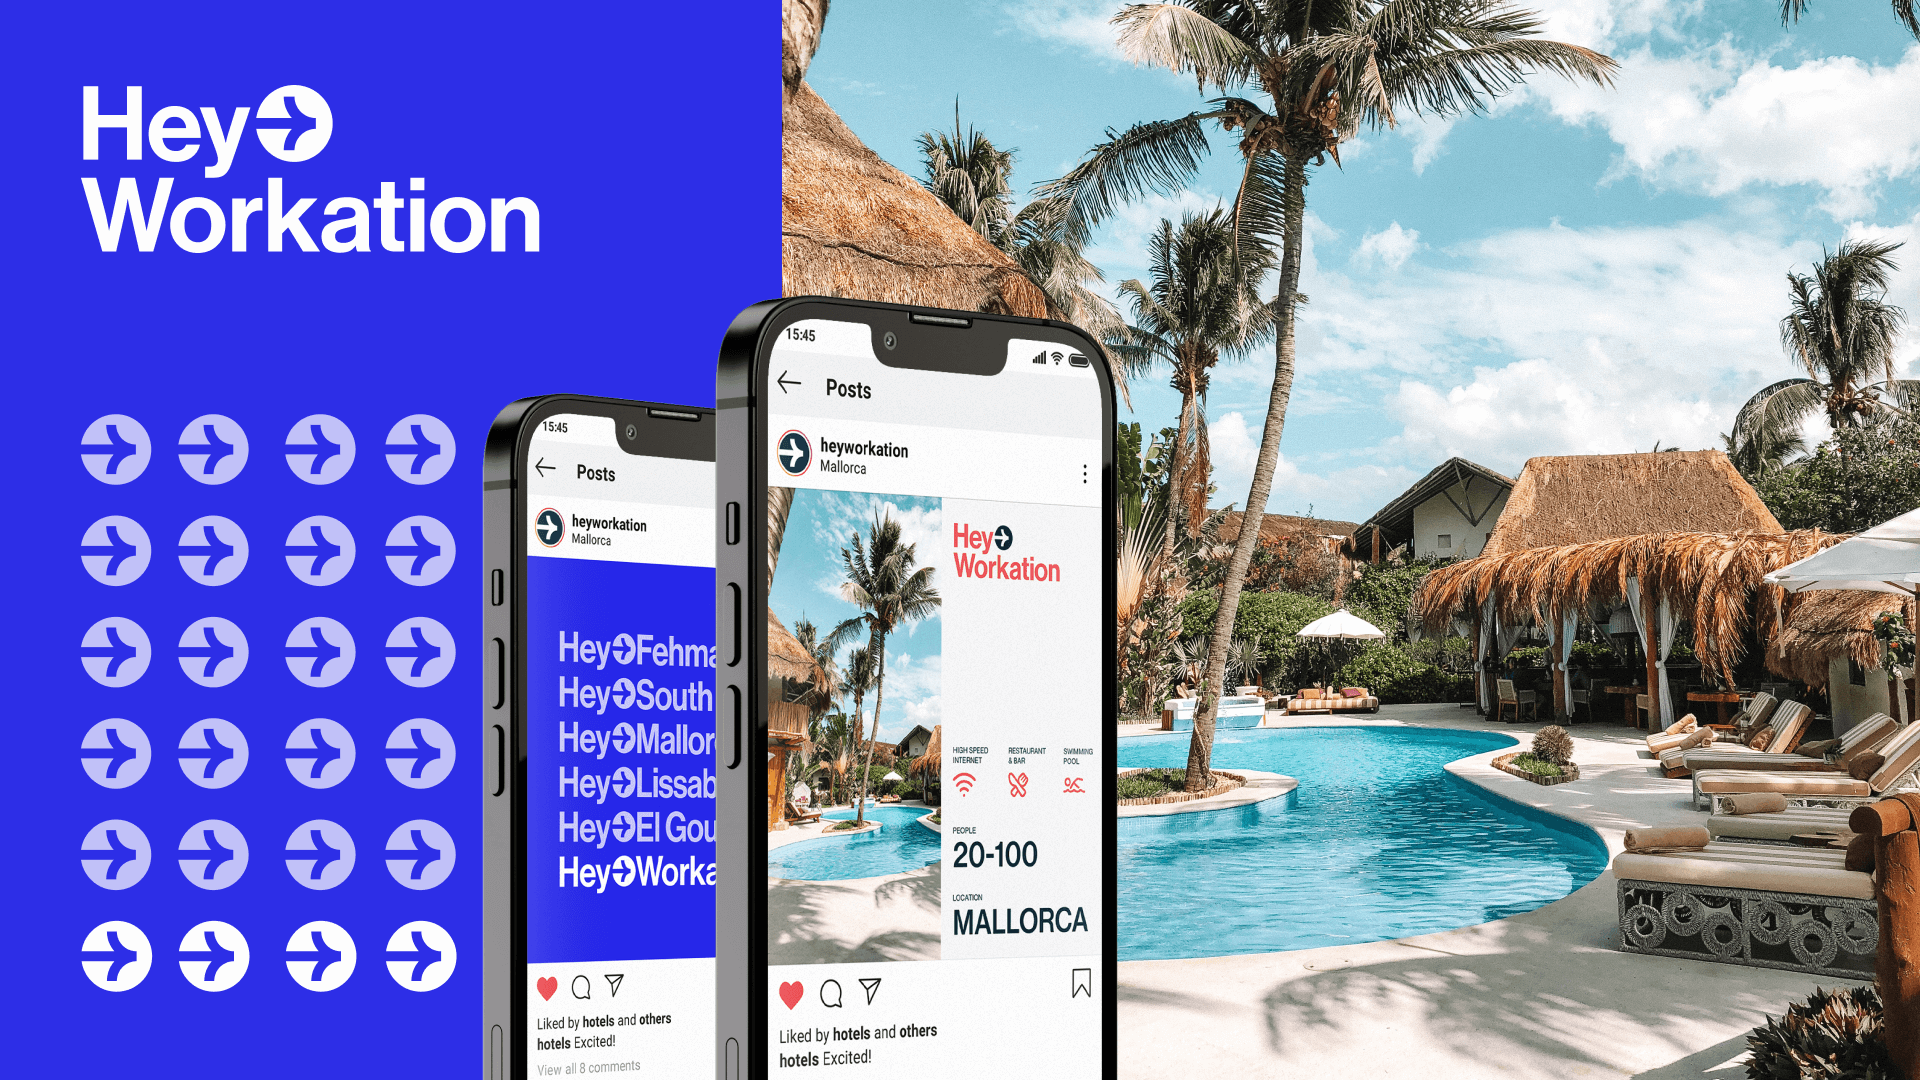
HeyWorkationBranding

Advanced Motion MethodsMotion Design
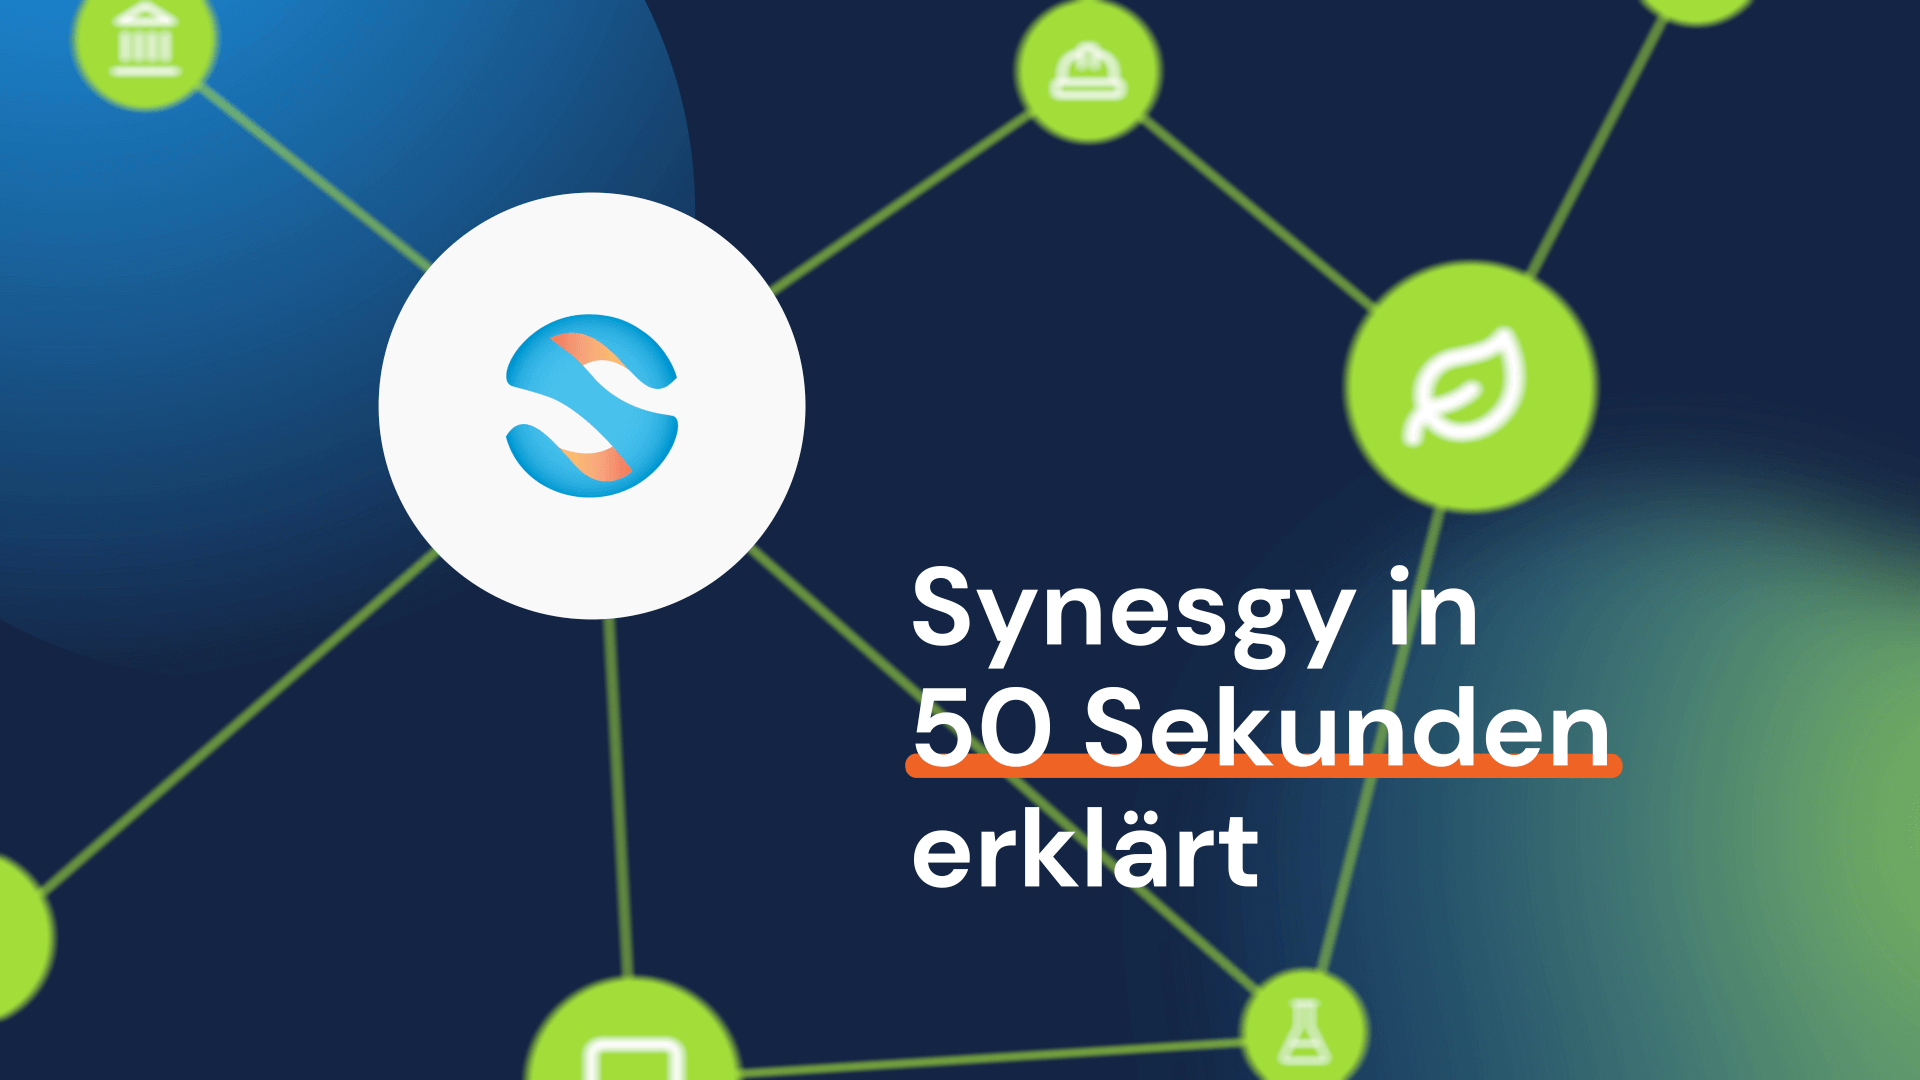
CRIF SynesgyMotion Design, Art Direction

WorkvivoMotion Design, Art Direction
Nothing good ever came easy.